Removing the fridge, heater and hob. Notes for next time!
Removing stuff
I took out a few things to find a water leak. These are my notes.
To remove the hob:
- Gas off
- Remove drawer under hob
- Loosen four corner screws holding the hob in place. Use a minature socket set.
- Push the retainers away from the work surface.
- Unscrew the hex nut at the back of the hob where the gas comes in.
- Lift out the hob
To remove the sink
- Remove the hob.
- Remove the screw in the sink waste.
- Follow 3 and 4 above. Note that the back right screw is a bugger to reach and loosen.
- Lift the sink out, noting that there are metal brackets on each side which need to be folded back.
- Undo the bolt holding the earth strap in place.
To remove the fridge
- Remove the sink.
- Remove the knobs
- Remove the two screws holding the facia in place
- Run a knife around the fridge to remove sealant.
- On the sink side of the fridge there are two screws near the vertical shelf. You removed the sink to get access to these. Remove them.
- Remove the right panel in the top vent cover outside the van.
- Remove the vent cover
- Unscrew the screw attaching the last part of the flue pipe to the up-pipe. Remove the end piece (it is the short pipe with the white plastic end.)
- Inside the van, cut away the white sheet that covers the fridge. It is made from material from Hobbycraft so easy to replace.
- From inside the van, lift up the long exhaust gas pipe. It simply slides over a shorter pipe coming from the fridge body.
- Release the gas pipe.
- Release the 12v connectors and unplug.
- The fridge is almost as wide as the main door and heavy enough to be awkward to move without damaging stuff.
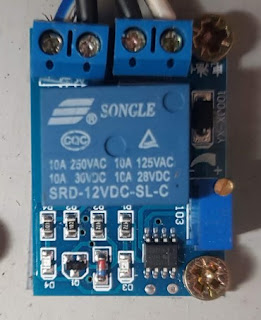
- The fridge has a bunch of wires. 240v mains feed for use with the hook up connected. A fat 12v which is permanently live from the habitation battery. This runs to a relay switch which is normally open. A 12v feed from the ignition. This runs to the relay coil so that the relay is closed and current flows only when the ignition is on (and therefore the habitation battery is being charged up). There is also another 12v from the habitation battery which is live only when the habitation circuit is live. It connects to the gas switch and re-igniter circuit. There is a forth red wire which seems to have no purpose and is now left disconnected. The re-igniter has a permanent live, a wire back to the switch to make the light come on or flash when the sparking is happening and a cable which goes via the switch to earth. So closing the switch completes the circuit by connecting the re-igniter to earth.
To remove the water heater
- Unclip the two hinge clips and remove the outer door.
- Remove the retaining screws on the outside of the heater.
- Release the gas connector
- Run a blade around the heater to cut through the sealant.
- Slide the water heater forward, taking care that the gas line does not foul the heater body.
- Find and release the electrical feed.
- Slide the heater forward, taking care not to snag the cardboard surround on the van body.
- Once the heater is sufficiently far forward, cut the short hoses nearest the heater body. It is too awkward to try to release the hoses.
- Remove the heater.
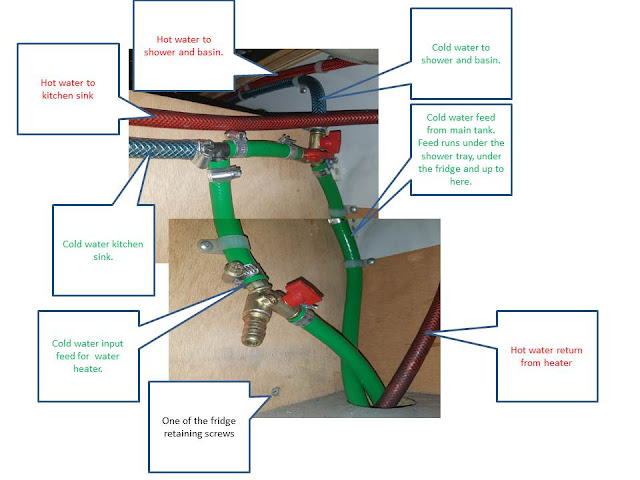
Hosepipe Picture under my sink. Separate valves make it easier to test for leaks. The diagram has an error because there is no hot water in the toilet basin.


Comments
Post a Comment